.png)

The Group Editor is one of the most powerful tools in Poser and allows users to perform many useful tasks without having to go into another application.
Poser differentiates between body part groups, material groups, and other group types on a figure or prop. With figures, for example, they consist of named body parts that can be selected and articulated (or posed). Props normally consist of a single part that cannot be articulated, although poseable props do exist. Each group is made up of one or more polygons and can be viewed in Outline display mode, Simply hover your mouse over the various body parts, you’ll see an outline of the group underneath the mouse. You can apply materials to one or more groups with the Group Editor.
The Group Editor is useful for various tasks within Poser like creating material groups, hair groups, cloth groups, body parts and props.
You can create new props and deform and morph selected portions of an element. For example, you could use the Group Editor to select polygons around a character’s eyes, nose, and forehead, and use those selected polygons to create a mask prop.
A clear and detailed description of the Group Editor and its functions is available in the Poser Reference Manual, and it's suggested that those who are unfamiliar with it should review the Group Editor section.
This tutorial by Renderosity's Kalypso focuses on fun, creative things you can do with the Group Editor. In this tutorial, you will learn how to extract parts of props or figures and combine them with others to create a different item.
Kalypso uses two props that can be found in Modern Apartment: Bedroom by RPublishing and GrayCloudDesign.
How to use Poser's Group Editor
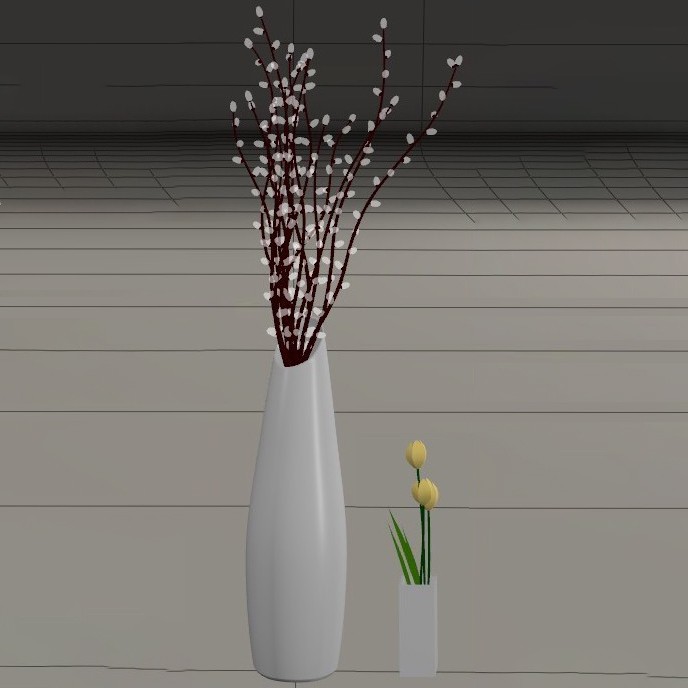
1. Bring in both props and position them how you like. You'll notice there's a considerable difference in size, but this will be dealt with later.
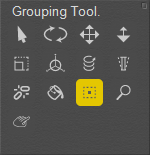
2. Select the tall vase and open the Grouping Tool.
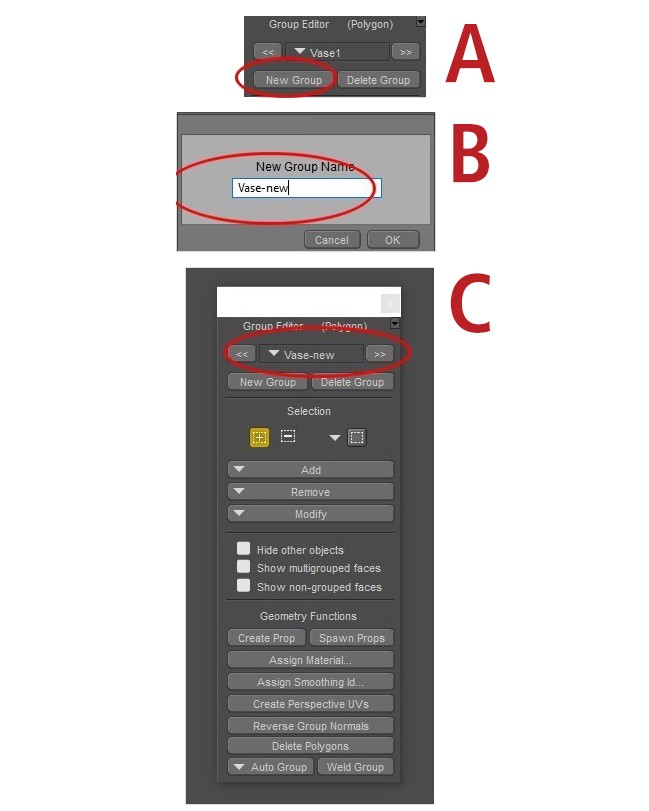
3. The whole prop is immediately selected. Selections show as red when working within the Group Editor. At this point, it's best to create a New Group, so you can work on that.
Once you click on New Group (A), you will be able to give it a name. Make sure it's not the exact same name as the original prop.
(B) Check that the new group shows in the Group Editor before going on to the next step.
(C) Keep in mind, this new group will now show as black.
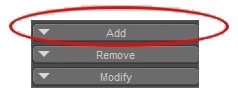
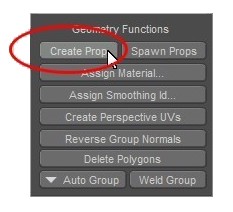
5. The selected material shows as red in the Group Editor. All that is necessary in order to extract this part of the prop is to click on Create Prop, and a new prop will be spawned. You can delete or make the original prop invisible and see the new prop. When the Group Editor is closed, you will see that it has retained all the original settings and textures for that material zone.
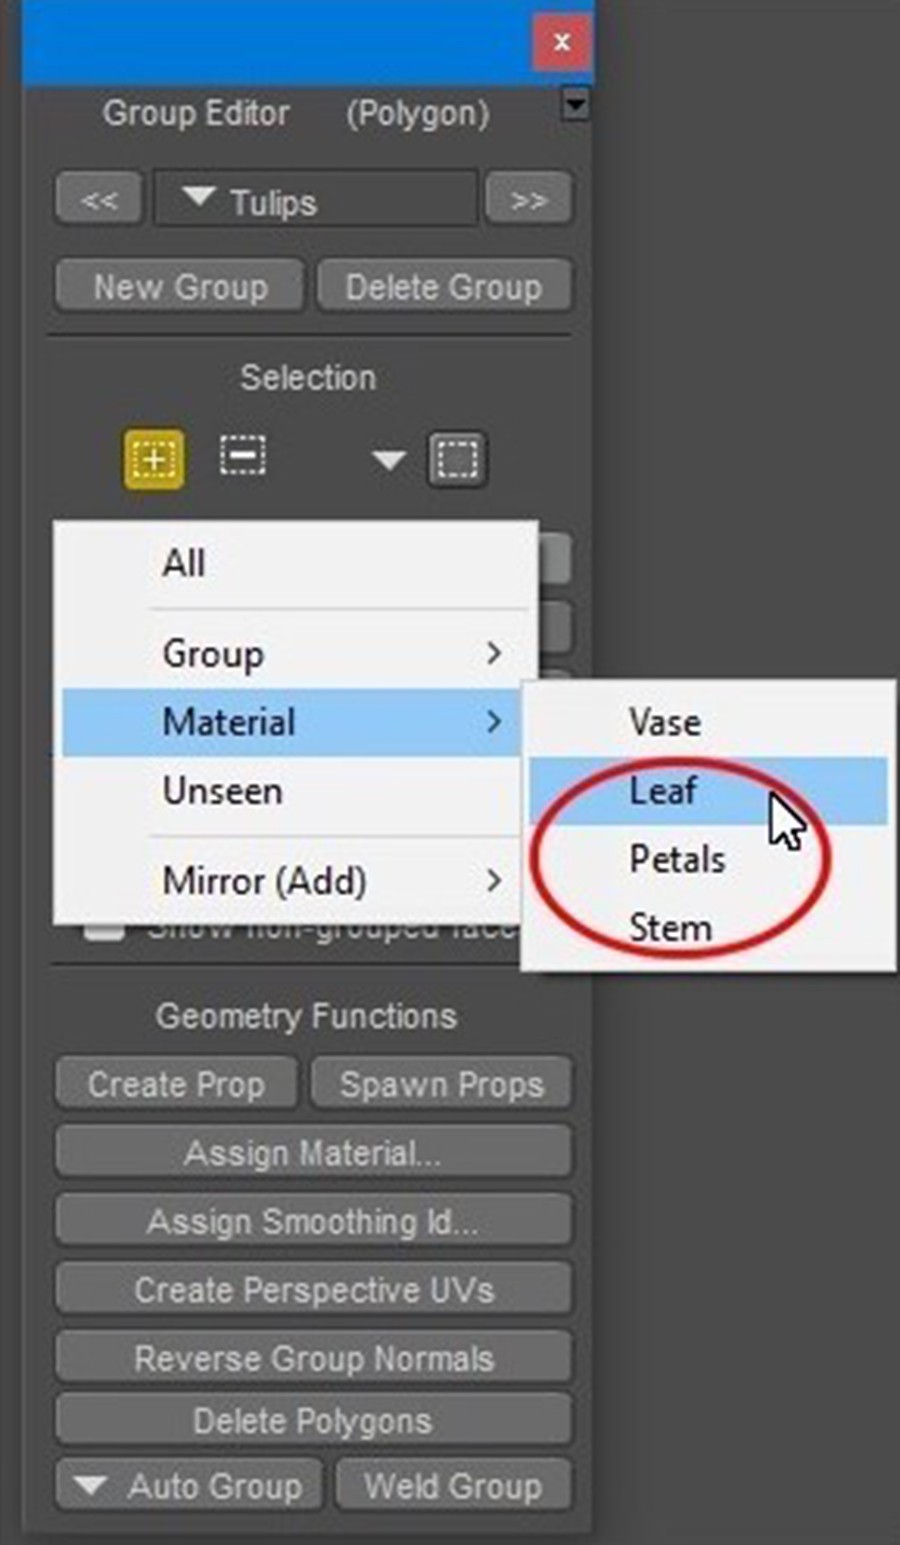
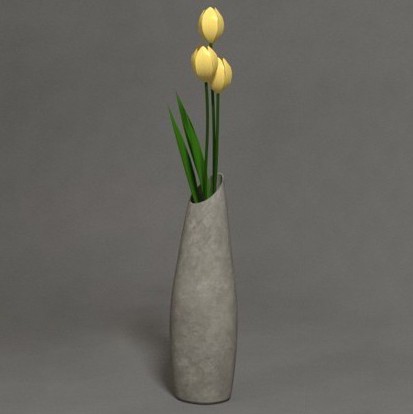
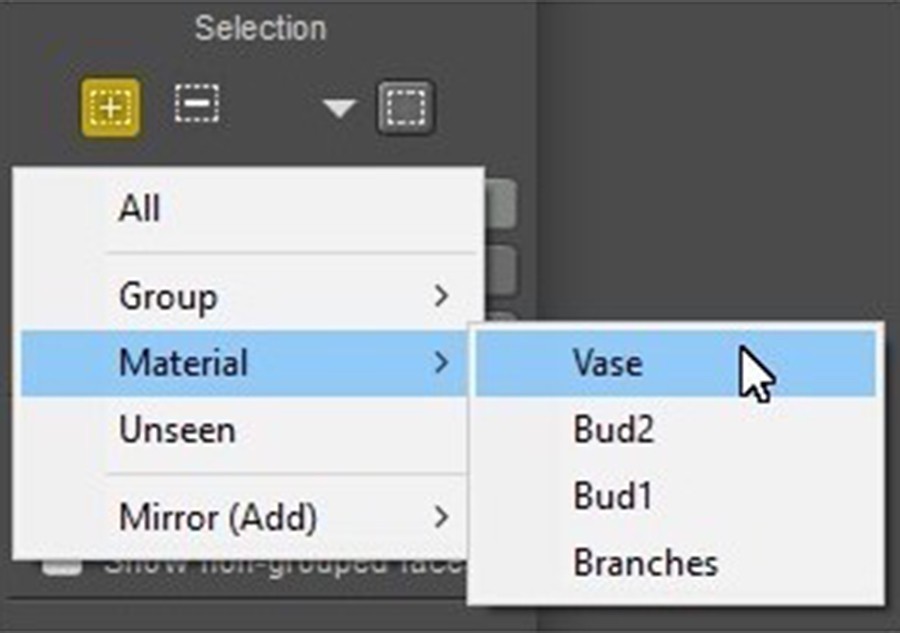
After selecting the second vase with the tulips and opening the Group Editor, just follow steps 3-5 to extract the flowers. Make sure in step 4 to select all the material zones associated with the tulips. In this case there are 3 materials you need to include: Leaf, Petals and Stem Position and scale the two, new props to combine them. Parenting the tulips to the vase will ensure they be moved together